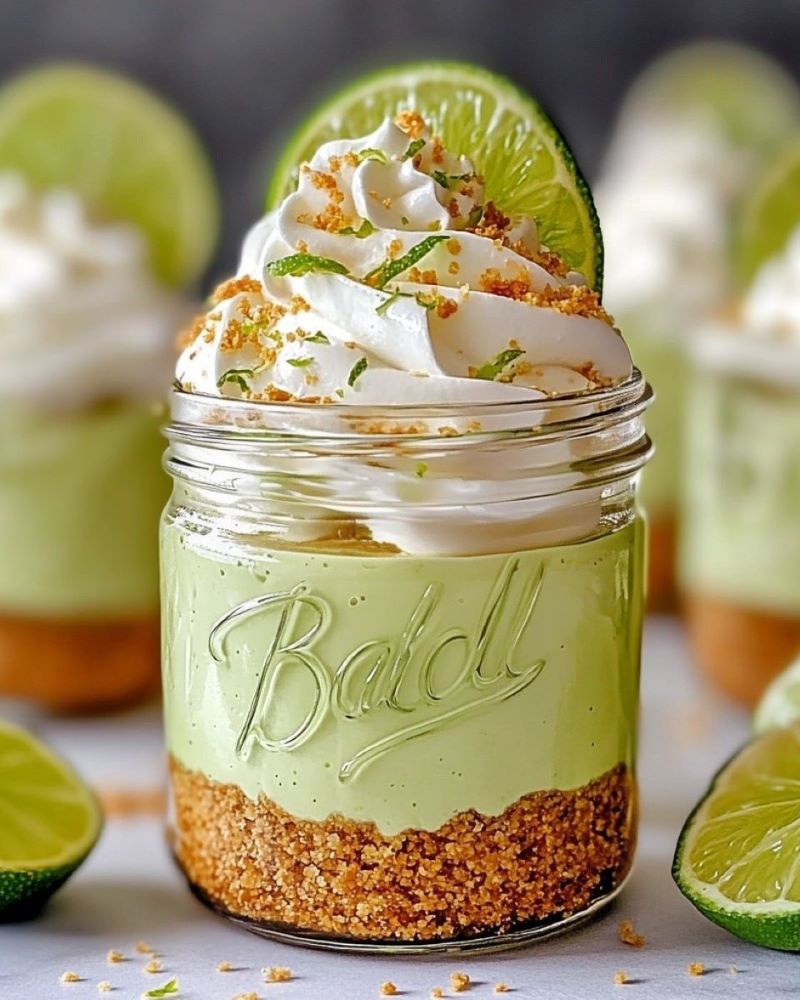
Key Lime Pie Jars
There’s just something so joyful about desserts served in jars, and these Key Lime Pie Jars are no exception. I first made these little treats for a summer picnic and they were gone in minutes—a delightful twist on the traditional pie that everyone can hold in their hands. Tart, creamy, and just the right amount of sweet, they’re everything you love about key lime pie, packed into single-serve jars.
Perfect for warm weather gatherings, backyard barbecues, or a refreshing make-ahead dessert, Key Lime Pie Jars are not only adorable but also incredibly easy to assemble. If you love zesty citrus desserts, these will quickly become your go-to for spring and summer. Even better, they’re portion-controlled, making it easy to enjoy a luscious treat without the temptation of slicing into an entire pie. They’re also a hit with guests of all ages—easy to hold, easy to eat, and just plain fun.
Why You’ll Love Key Lime Pie Jars
- No-bake and fuss-free: Simple ingredients and zero oven time make these perfect for hot days when you don’t want to turn on the oven.
- Individual servings: Great for parties, picnics, or gifting. No need for slicing or extra plates.
- Tangy and sweet: A perfect balance of tart lime and creamy sweetness that refreshes with every bite.
- Make-ahead friendly: Prepare the night before and chill until serving, making your event day stress-free.
- Customizable jars: Use mason jars, mini cups, or any small glass container. Even shot glasses for mini versions!
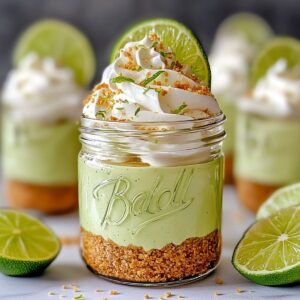
- Visually stunning: The layered look and garnishes make them photo-ready and great for entertaining.
- Easy to transport: With secure lids, these travel beautifully to picnics, potlucks, or beach days.
Ingredients You’ll Need
- 1 cup graham cracker crumbs (about 8 full crackers, finely crushed)
- 3 tablespoons melted butter
- 2 tablespoons granulated sugar (helps bind the crust and adds sweetness)
- 8 oz cream cheese, softened (use full-fat for the creamiest texture)
- ½ cup sweetened condensed milk (adds sweetness and a rich, silky feel)
- ⅓ cup key lime juice (fresh or bottled; Nellie & Joe’s is a great brand)
- 1 teaspoon key lime zest (adds brightness and a concentrated lime aroma)
- 1 cup whipped cream or whipped topping (plus extra for garnish)
- Lime slices and extra zest for garnish (optional but adds a beautiful finishing touch)
Step-by-Step Instructions
- Make the Crust Layer:
- In a medium bowl, combine graham cracker crumbs, melted butter, and granulated sugar.
- Stir together until the mixture is well blended and resembles wet sand.
- Spoon 2-3 tablespoons into the bottom of each jar and press down gently to form a crust layer using the back of a spoon or your fingers.
- Make the Key Lime Filling:
- In a large mixing bowl, beat the softened cream cheese with a hand mixer or stand mixer until smooth and creamy.
- Slowly add in the sweetened condensed milk, key lime juice, and lime zest.
- Continue to beat until fully incorporated and smooth. The filling should be thick and tangy.
- Fold in Whipped Cream:
- Gently fold in 1 cup of whipped cream or whipped topping into the lime mixture using a spatula.
- Take care not to deflate the cream too much—you want a light, fluffy consistency.
- Assemble the Jars:
- Spoon or pipe the key lime filling evenly over the crust layer in each jar.
- Use a small spoon or offset spatula to smooth the tops.
- For a prettier presentation, clean the insides of the jars before chilling.
- Refrigerate for at least 2 hours, or overnight, to allow the filling to set and flavors to meld.
- Garnish and Serve:
- Just before serving, top each jar with an extra swirl of whipped cream.
- Garnish with a fresh lime slice and a sprinkle of lime zest for a bright, citrusy pop.
- Optionally, sprinkle extra crushed graham crackers or add a few white chocolate curls.
Serving and Storage Tips
Serve these Key Lime Pie Jars chilled straight from the fridge. They’re perfect as a refreshing finish to a grilled dinner, a cool afternoon pick-me-up, or a festive dessert display.
- Storage: Keep jars sealed and refrigerated for up to 3 days for optimal freshness.
- Make-ahead: You can assemble these up to a day in advance without the toppings. Add whipped cream and garnishes just before serving.
- Transporting: Use jars with lids (like mason jars) for easy and secure travel to picnics, parties, or potlucks.
- Serving suggestion: Set out with small spoons and a bowl of extra whipped cream on the side.
Helpful Notes
- Lime juice: While fresh key lime juice has unmatched flavor, bottled varieties like Nellie & Joe’s work well in a pinch and save time.
- Zest tips: Zest limes before cutting and juicing them—it’s much easier that way.
- Toppings: For extra flair, consider using toasted coconut, mini meringues, or even a drizzle of white chocolate.
- Jar size: 4- to 8-ounce jars are ideal. You can layer deeper or shallower depending on your container.
- Dairy-free option: Use dairy-free cream cheese and a coconut-based whipped topping to make this recipe suitable for those avoiding dairy.
- Gluten-free crust: Use gluten-free graham crackers or cookies to make this a gluten-free treat.
Frequently Asked Questions
- Can I use regular limes instead of key limes?
Yes! Regular limes work fine. While key limes are more tart and floral, regular limes give a very similar taste in this recipe. - Can I freeze these jars?
You can, although the texture may change slightly upon thawing. If freezing, skip the whipped topping until just before serving. - How far in advance can I make these?
You can make these up to 24 hours in advance for the best flavor and texture. - Can I make this in one big dish instead of jars?
Absolutely. Use an 8×8-inch dish or pie plate. Layer the crust, filling, and topping the same way. - What can I use instead of graham crackers?
Crushed digestive biscuits, vanilla wafers, shortbread cookies, or even gingersnaps make excellent crust alternatives. - Can I double or triple the recipe?
Yes! This recipe scales beautifully. Just make sure you have enough jars or containers.
Final Thoughts
Key Lime Pie Jars are the ultimate sweet-and-tart treat for citrus lovers and anyone who loves a fun, pretty dessert. They come together in no time, look beautiful on a tray, and offer a refreshing contrast to rich, heavy sweets. Whether you’re serving them at a party, a bridal shower, or a casual backyard meal, they add a touch of elegance and zing to any menu. Whip up a batch, chill them well, and watch them disappear with smiles all around. Let me know how yours turn out—I’d love to see your creations!
Key Lime Pie Jars
Ingredients
- 1 cup graham cracker crumbs
- 3 tbsp melted butter
- 2 tbsp granulated sugar
- 8 oz cream cheese softened
- ½ cup sweetened condensed milk
- ⅓ cup key lime juice
- 1 tsp key lime zest
- 1 cup whipped cream or whipped topping
- Lime slices and extra zest for garnish
Instructions
- Mix graham crumbs, melted butter, and sugar. Press into the bottom of jars.
- Beat cream cheese until smooth. Add condensed milk, lime juice, and zest. Beat until combined.
- Gently fold in whipped cream.
- Spoon filling into jars over crust. Smooth tops.
- Chill for 2+ hours.
- Before serving, top with whipped cream, lime slices, and extra zest.
Notes
- Use fresh or bottled key lime juice.
- 4- to 8-ounce jars work best.
- For a dairy-free version, substitute vegan cream cheese and coconut whipped topping.
- Graham crust alternatives: vanilla wafers, shortbread, or gingersnaps.
- Make up to a day ahead for convenience.