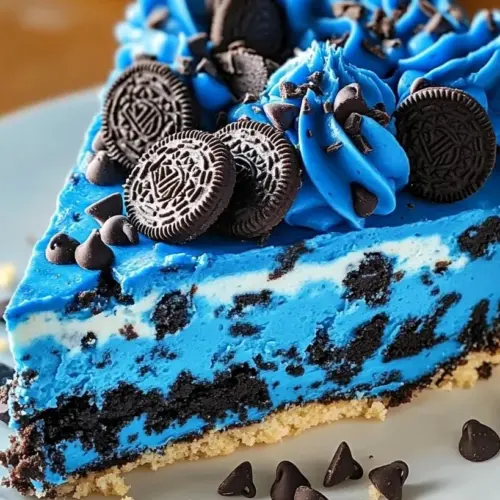
Cookie Monster Cheesecake
Every time I make this Cookie Monster Cheesecake, it brings a big smile to everyone’s face—especially the kids! I first whipped this up for my nephew’s birthday party, and it was an instant hit. With its playful blue color and loaded cookie goodness, it’s like a party in every bite.
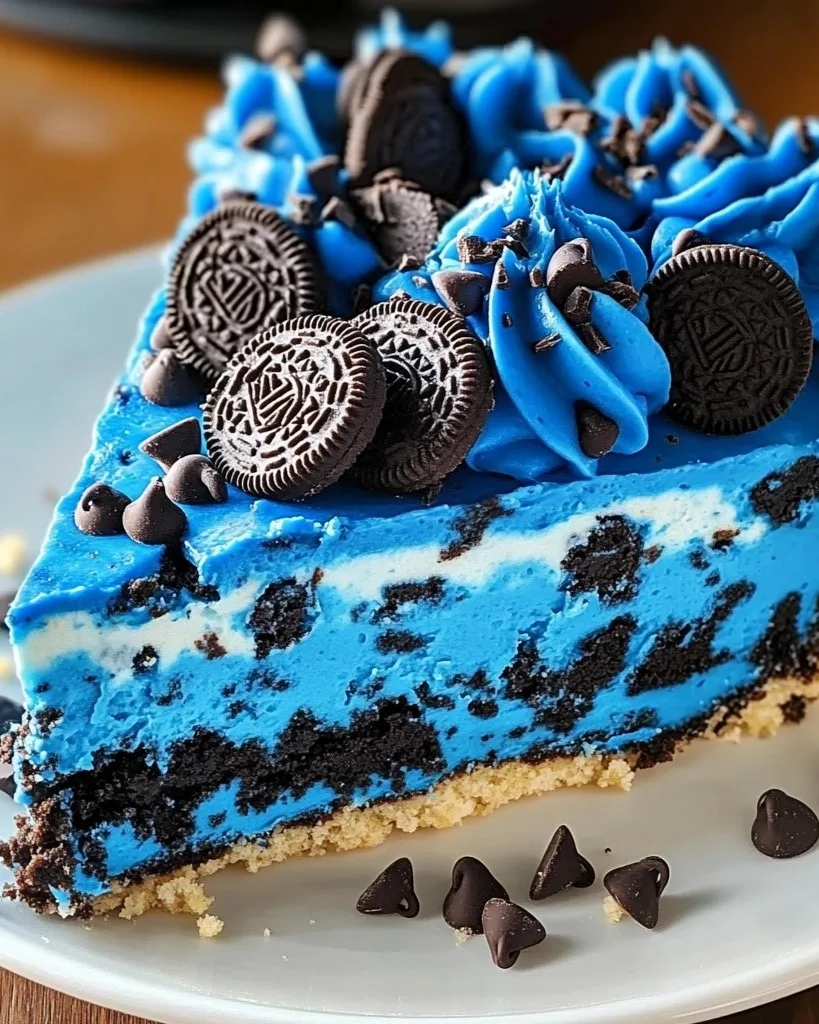
This no-bake cheesecake is perfect for birthdays, bake sales, or even just a fun weekend treat. It’s colorful, packed with cookies, and comes together without ever turning on the oven. It reminds me of childhood Saturday mornings watching cartoons, spoon in hand, diving into a dessert that feels both nostalgic and over-the-top delicious. Let me walk you through this whimsical dessert that Cookie Monster himself would surely devour!
Why You’ll Love Cookie Monster Cheesecake
- No baking required – Just chill and serve!
- Kid-approved – Bright blue and packed with cookies.
- Perfect for parties – A total showstopper at gatherings.
- Make-ahead friendly – Great to prep a day in advance.
- Customizable toppings – Let your creativity shine with different cookies and candies.
- Fun to make with kids – A great kitchen project for little hands.
Ingredients You’ll Need
- 24 Oreo cookies, crushed – Use a food processor or rolling pin.
- 5 tablespoons unsalted butter, melted – To bind the crust.
- 16 oz cream cheese, softened – Full fat for creaminess.
- 1 cup granulated sugar – Sweetens the filling.
- 2 teaspoons vanilla extract – Adds warmth and depth.
- 2 cups heavy whipping cream – Whip to stiff peaks for fluffiness.
- 1 packet unflavored gelatin – Helps the cheesecake set.
- 1/4 cup cold water – To bloom the gelatin.
- Blue food coloring – Gel or liquid; adjust to your desired shade.
- 1 1/2 cups mini chocolate chip cookies, chopped – Adds chewy texture.
- 1 1/2 cups mini Oreos, chopped – Extra crunch and cookie flavor.
- Additional mini cookies, Oreos, and chocolate chips for topping – Optional but fun!
Step-by-Step Instructions
- Prepare the crust: Mix crushed Oreos and melted butter in a bowl. Press into the bottom of a 9-inch springform pan. Chill in the fridge while you make the filling.
- Whip the cream: In a cold bowl, whip the heavy cream to stiff peaks. Set aside.
- Bloom the gelatin: Sprinkle gelatin over cold water in a small bowl. Let sit for 5 minutes. Then microwave for 10–15 seconds to dissolve. Cool slightly.
- Make the cheesecake filling: In a large bowl, beat cream cheese, sugar, and vanilla until smooth. Stir in the cooled gelatin.
- Add food coloring: Mix in blue food coloring a few drops at a time until it’s the perfect Cookie Monster shade.
- Fold in whipped cream: Gently fold the whipped cream into the cream cheese mixture. Use a spatula and fold gently to keep the mixture light and airy.
- Add cookies: Fold in the chopped mini cookies and mini Oreos. You can leave some chunks bigger for more texture.
- Assemble: Pour the filling over the crust and smooth the top with an offset spatula or the back of a spoon.
- Chill: Refrigerate for at least 6 hours or overnight until firm. The longer it chills, the better the texture.
- Decorate: Before serving, top with more mini cookies, mini Oreos, and chocolate chips for that extra Cookie Monster flair. Add edible googly eyes to turn it into a fun, animated dessert.
Serving and Storage Tips
- Serve chilled – Slice with a warm knife for clean cuts. Dip the knife in hot water and wipe between slices.
- Pair with milk or coffee – Delicious for kids and grown-ups alike. Try serving with a drizzle of chocolate syrup or caramel.
- Store in the fridge – Keeps for up to 5 days covered tightly with plastic wrap or in an airtight container.
- Freeze for later – Wrap slices in plastic wrap and foil. Thaw overnight in the fridge. You can also enjoy it slightly frozen for an ice cream cake texture.
Helpful Notes
- Make it gluten-free: Use gluten-free cookies for the crust and filling.
- No gelatin? – Use agar-agar powder as a vegetarian alternative. Follow package instructions for conversion.
- Want it less sweet? – Reduce the sugar by 1/4 cup without affecting the texture.
- Decorate with eyes – Add candy eyes for a real Cookie Monster look! Great for kids’ parties.
- Color alternatives – Make a pink or green version by swapping food coloring. Great for themed parties!
Frequently Asked Questions
- Can I freeze Cookie Monster Cheesecake? Yes! Wrap individual slices well and freeze for up to 1 month. Let thaw in the fridge overnight or eat semi-frozen for a firmer texture.
- What if I don’t have mini cookies? You can chop up full-sized cookies instead. Just aim for small pieces so they mix evenly.
- Can I make this without food coloring? Absolutely—just skip it. The flavor is still amazing. Or use natural food coloring if you prefer.
- Is it okay to use whipped topping instead of cream? Yes, but real whipped cream gives better flavor and texture. If using whipped topping, use an equal amount and fold it in gently.
- How do I prevent lumps in the cheesecake? Make sure the cream cheese is fully softened before mixing. Beat it well with the sugar until completely smooth.
- Can I use a different crust? Definitely! A graham cracker crust or chocolate chip cookie crust would also be delicious.
Final Thoughts
This Cookie Monster Cheesecake is as fun to make as it is to eat. Whether you’re making it for a birthday party or just to surprise the kids on a rainy day, it’s bound to be a hit. With that bright blue color and all the cookie crumbles, it’s a joyful dessert that brings smiles to everyone’s face.
And don’t worry if it gets a little messy—it’s all part of the fun! The texture is smooth and fluffy, the flavors are rich and sweet, and every bite is packed with childhood magic. If you try this recipe, I’d love to hear how it turned out! Leave a comment or tag me in your sweet creations on social media. Happy baking and stay cookie-crazy!
Cookie Monster Cheesecake
Ingredients
- 24 Oreo cookies crushed
- 5 tablespoons unsalted butter melted
- 16 oz cream cheese softened
- 1 cup granulated sugar
- 2 teaspoons vanilla extract
- 2 cups heavy whipping cream
- 1 packet unflavored gelatin
- 1/4 cup cold water
- Blue food coloring
- 1 1/2 cups mini chocolate chip cookies chopped
- 1 1/2 cups mini Oreos chopped
- Additional mini cookies Oreos, and chocolate chips for topping
Instructions
- Prepare the crust: Mix crushed Oreos and melted butter in a bowl. Press into the bottom of a 9-inch springform pan. Chill in the fridge while you make the filling.
- Whip the cream: In a cold bowl, whip the heavy cream to stiff peaks. Set aside.
- Bloom the gelatin: Sprinkle gelatin over cold water in a small bowl. Let sit for 5 minutes. Then microwave for 10–15 seconds to dissolve. Cool slightly.
- Make the cheesecake filling: In a large bowl, beat cream cheese, sugar, and vanilla until smooth. Stir in the cooled gelatin.
- Add food coloring: Mix in blue food coloring a few drops at a time until it’s the perfect Cookie Monster shade.
- Fold in whipped cream: Gently fold the whipped cream into the cream cheese mixture.
- Add cookies: Fold in the chopped mini cookies and mini Oreos.
- Assemble: Pour the filling over the crust and smooth the top.
- Chill: Refrigerate for at least 6 hours or overnight until firm.
- Decorate: Before serving, top with more mini cookies, mini Oreos, and chocolate chips for that extra Cookie Monster flair.
Notes
- Make it gluten-free: Use gluten-free cookies for the crust and filling.
- No gelatin? – Use agar-agar powder as a vegetarian alternative.
- Want it less sweet? – Reduce the sugar by 1/4 cup.
- Decorate with eyes – Add candy eyes for a real Cookie Monster look!